Its been over twenty years since I regularly made figure drawings. Needless to say, I felt pretty rusty but as I began sketching, I felt a sense of relaxation returning. Im not where I want to be but I certainly feel it coming back.
During my undergraduate days at Ohio State University, I regularly made drawings of figures in my life drawing courses. I was a natural and one of my biggest desires was to learn to draw and paint like the old Renaissance Masters, but I didn’t know where to get that type of training. My art instructor Pheoris West encouraged me to go into medical illustration. Thankfully, I did. Because medical illustration is an atelier teaching drawing and painting of medical content, it was a great study which helped me become a good researcher, draftsman and artist.
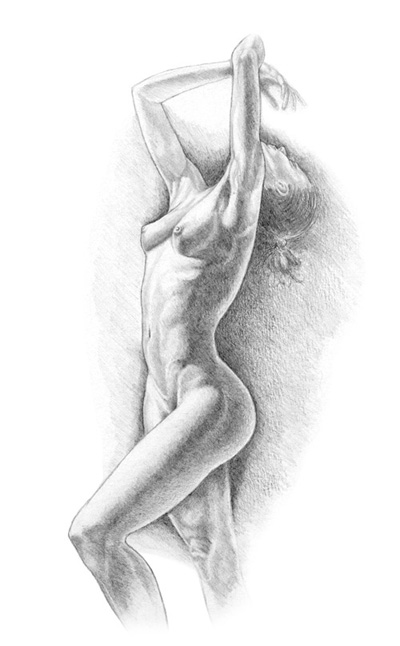
Michael A. Cooley, Female Figure, 1989, Graphite.
This is a drawing I made years ago. I was a young medical artist in my first job working at the University of Cincinnati Medical Center. After work I would practice drawing figures. At times I would join a group of artist at the University for open model night.
As I delved deeper into my career as a medical illustrator, I stopped figure drawing. I didn’t pick it up again until 2009 during my first year of graduate school at Hartford Art School at the University of Hartford in West Hartford, Connecticut. It was at Hartford Art School where Dennis Nolan, one of my professors challenged me to produce good effective drawings. He gave me a drawing demonstration and I was blown away at his drafting ability and knowledge of the human form. He also introduced me to classical art, the atelier system and artist’s like Jacques Louis David, Paul Delaroche, William Adolphe Bouguereau, Alexandre Cabanel, Jean-Auguste-Dominique Ingres, Sir Lawrence Alma-Tadema, Diego Velazquez, Franz Hals, Jean Leon Gerome, Charles Bargue and Émile Friant. After spending time with Nolan, I made a commitment to working on my drawing and painting.
These figure drawings are not what I consider good, but rather an honest attempt to re-introduce myself to regular figure drawing. I decided since I hadn’t been drawing for more than 15 years, I would begin with a series of 1 minute gestures to ease my way back into the practice of drawing. Thanks to a friend who kindly modeled for me.
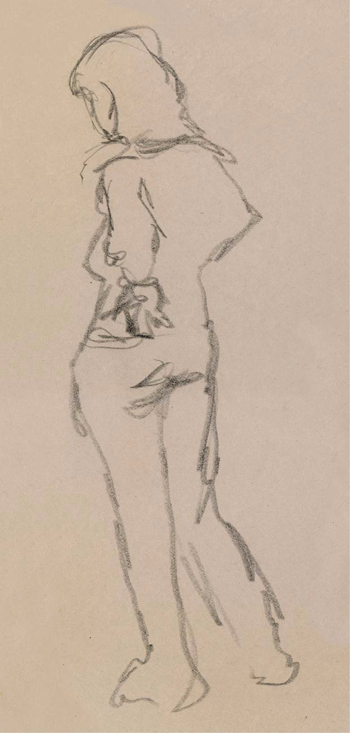
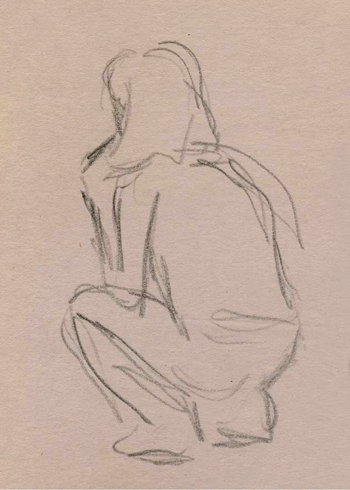
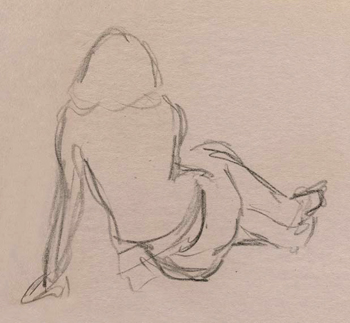
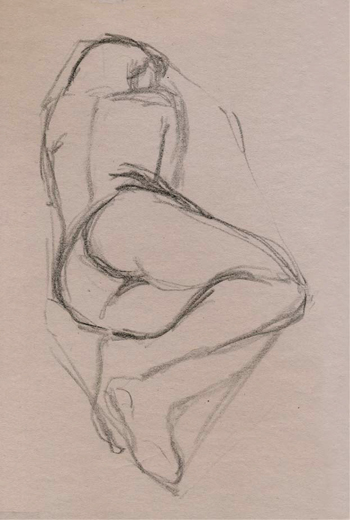
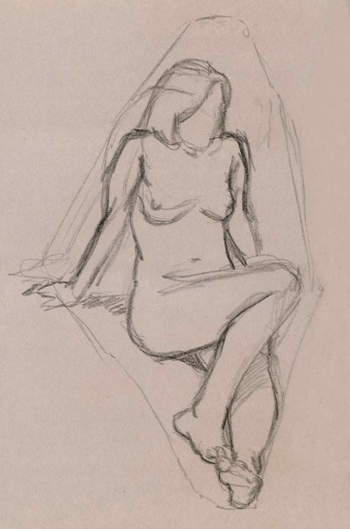
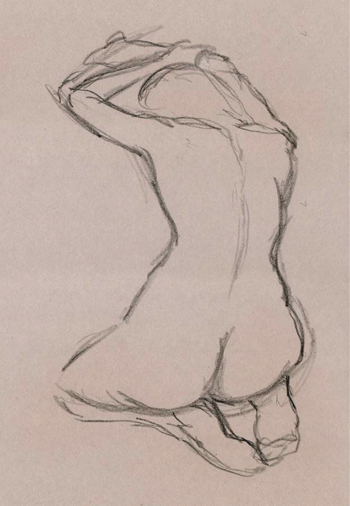
Initially I felt very clumsy with these gestures for the simple reason, as a medical artist, I had been making very tight detailed drawing and paintings. In working with gestures, I could begin to loosen up and work freely.
After working for a few days exclusively with gestures, I decided to try my hand at another approach. It is called the blind contour method. I would give myself only 20 minutes to make the next series of drawings. In limiting my time, I would be forced to forget tedious detail and work in a loose manner. I would also challenge myself to look at the subject and with my eyes traveling contiguously along the contour of the figure, use the pencil to follow on paper what I was seeing. The objective was to keep my eyes on the subject 80% of the time while drawing on paper what I was witnessing. I could only look down at my paper if I felt lost and with only enough time to get back on track. The next set of drawings were made using this approach.
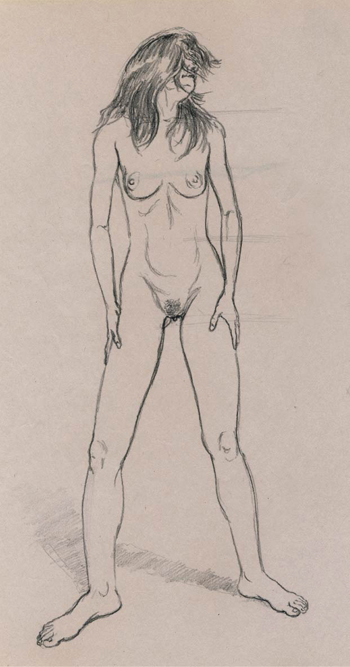
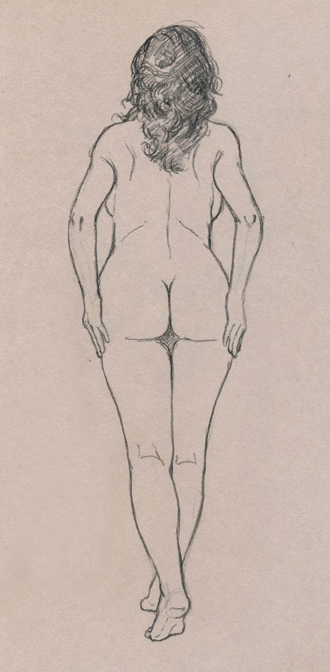
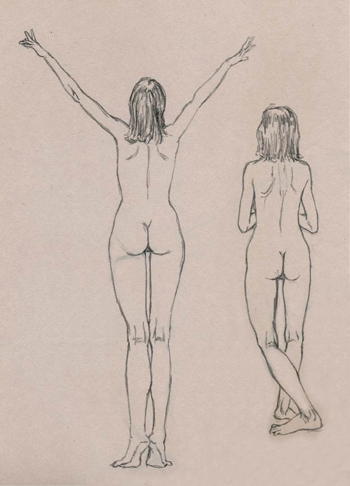
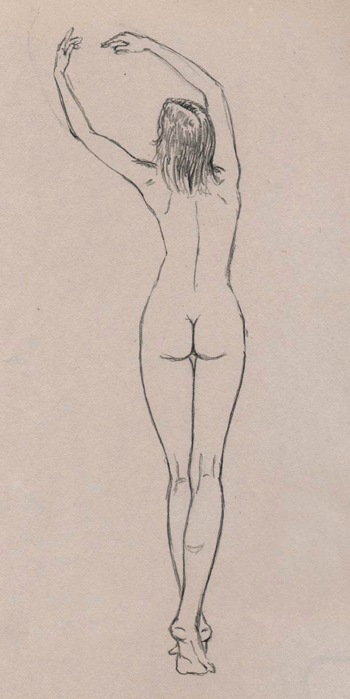
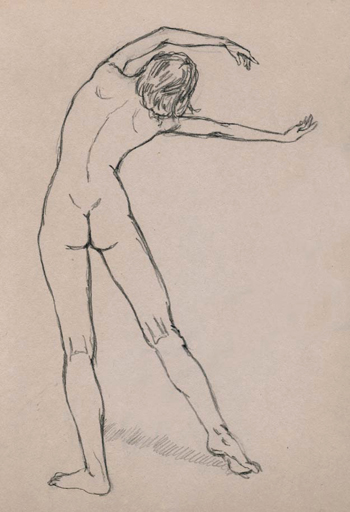
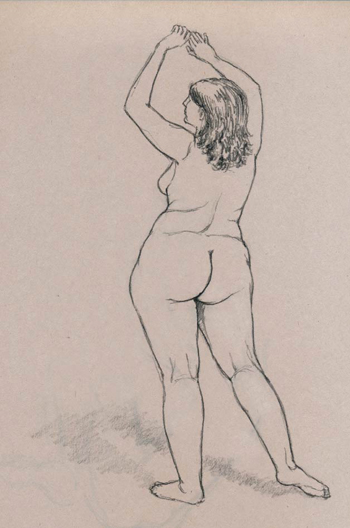
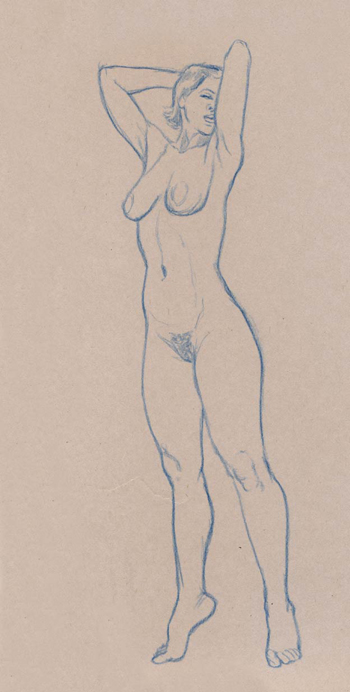
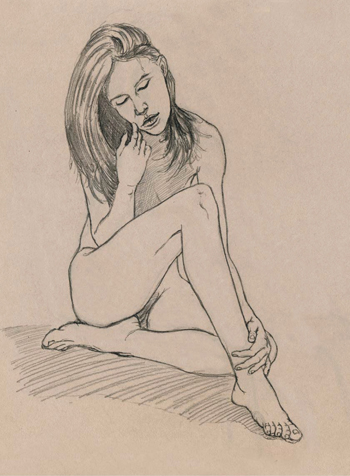
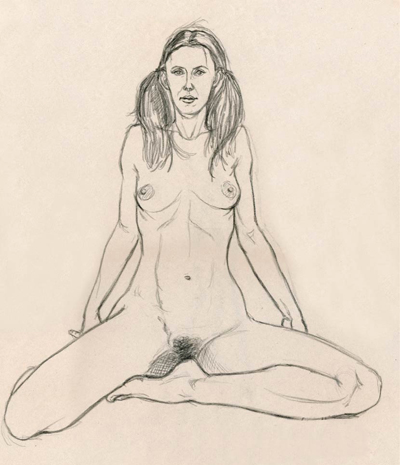
Although some of the figures look a bit elongated, I was very happy with the results I was getting using the blind contour contiguous approach. I then began to use the comparative measurement approach. I would look at my subject and make a stationary measurement as a control (example the foot to the knee joint). I would then use the control as a unit to measure all parts of the subject. In taking the controlled unit, I could make accurate comparisons. The next few drawings were made using the comparative measurement approach.
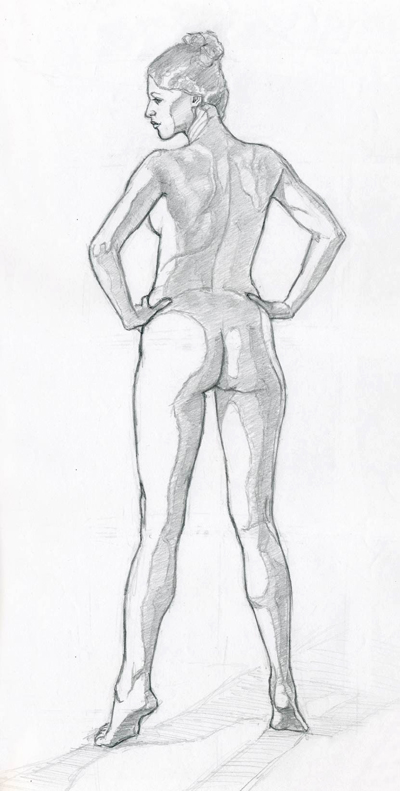
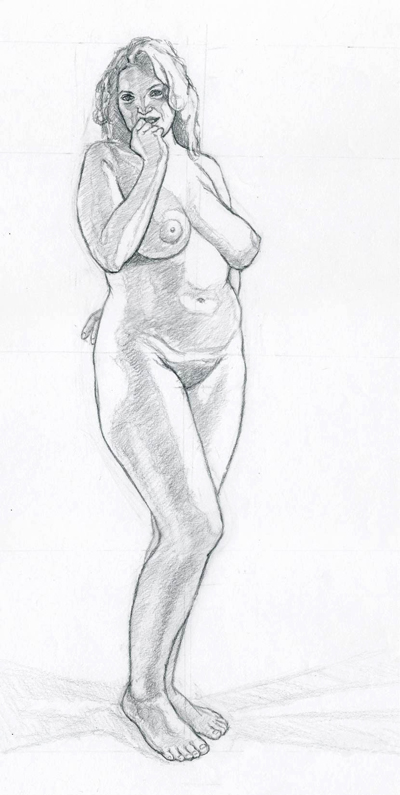
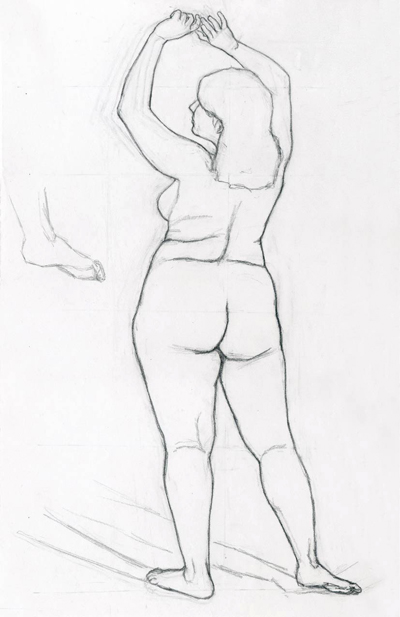
I have always used comparative measurement when drawing especially as a medical illustrator.
There is another method I employed on my next set of drawings. This approach is called the block-in, straight line, gestural or envelope block-in. The way it works as I understand is to carefully look at your subject, mark off the highest and the lowest limits of the subject on your paper (top of the head to the bottom of the feet). Then using a limited amount of straight lines (using plumbs, tilts and point), create an envelope that encapsulates the entire figure. Next, subdivide the envelope focusing on shapes. Eventually you will keep breaking down the envelope until it accurately resembles your subjects contour, but in linear straight line (no curves at this point). As you continue, you will eventually work the straight lines until you have created a very accurate organic contour. Once you have created a good contour, you will begin working on the inside of the contour. The next few drawings were made using the block-in method.
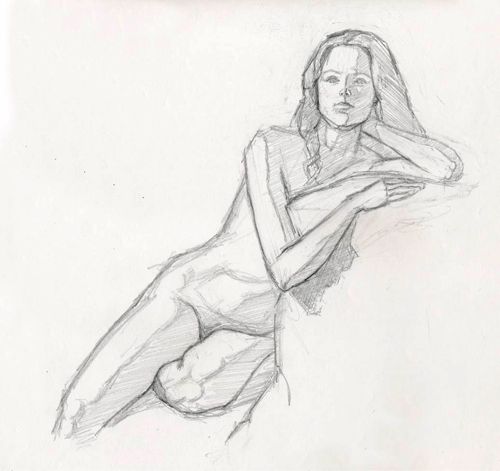
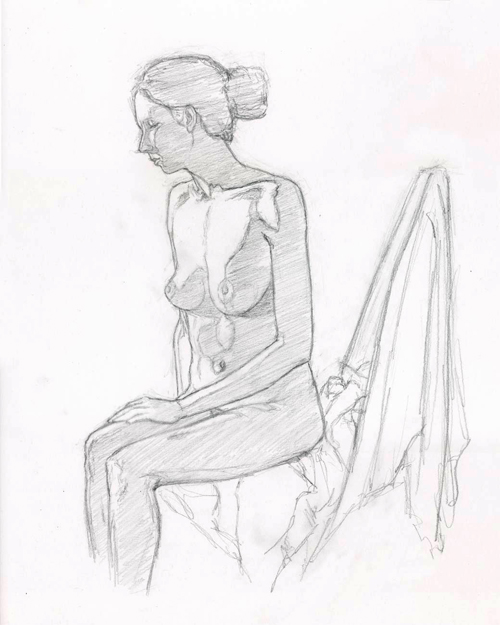
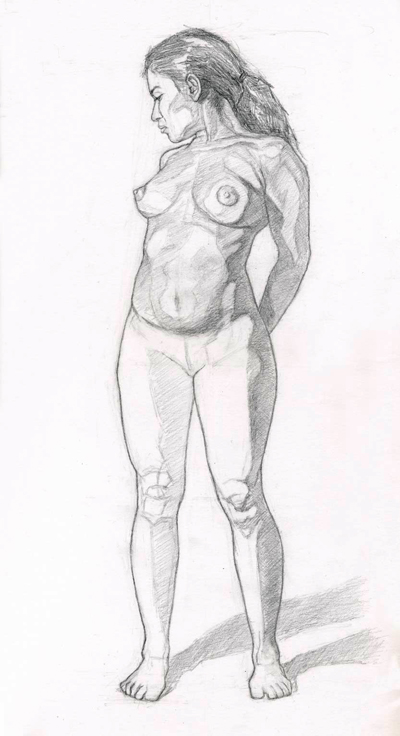
I must say, I am happy with the block-in method. As a matter of fact, I now use the block-in with the comparative measurement method for all of my drawings. There are many ways to approach a drawing but there is another very good method or approach to attain accurate proportion while drawing. It is the Construct method. It is a very good method and I intend to make use of it as well. This method is also used in concert with comparative measurement.
take care till next time,
Michael
